
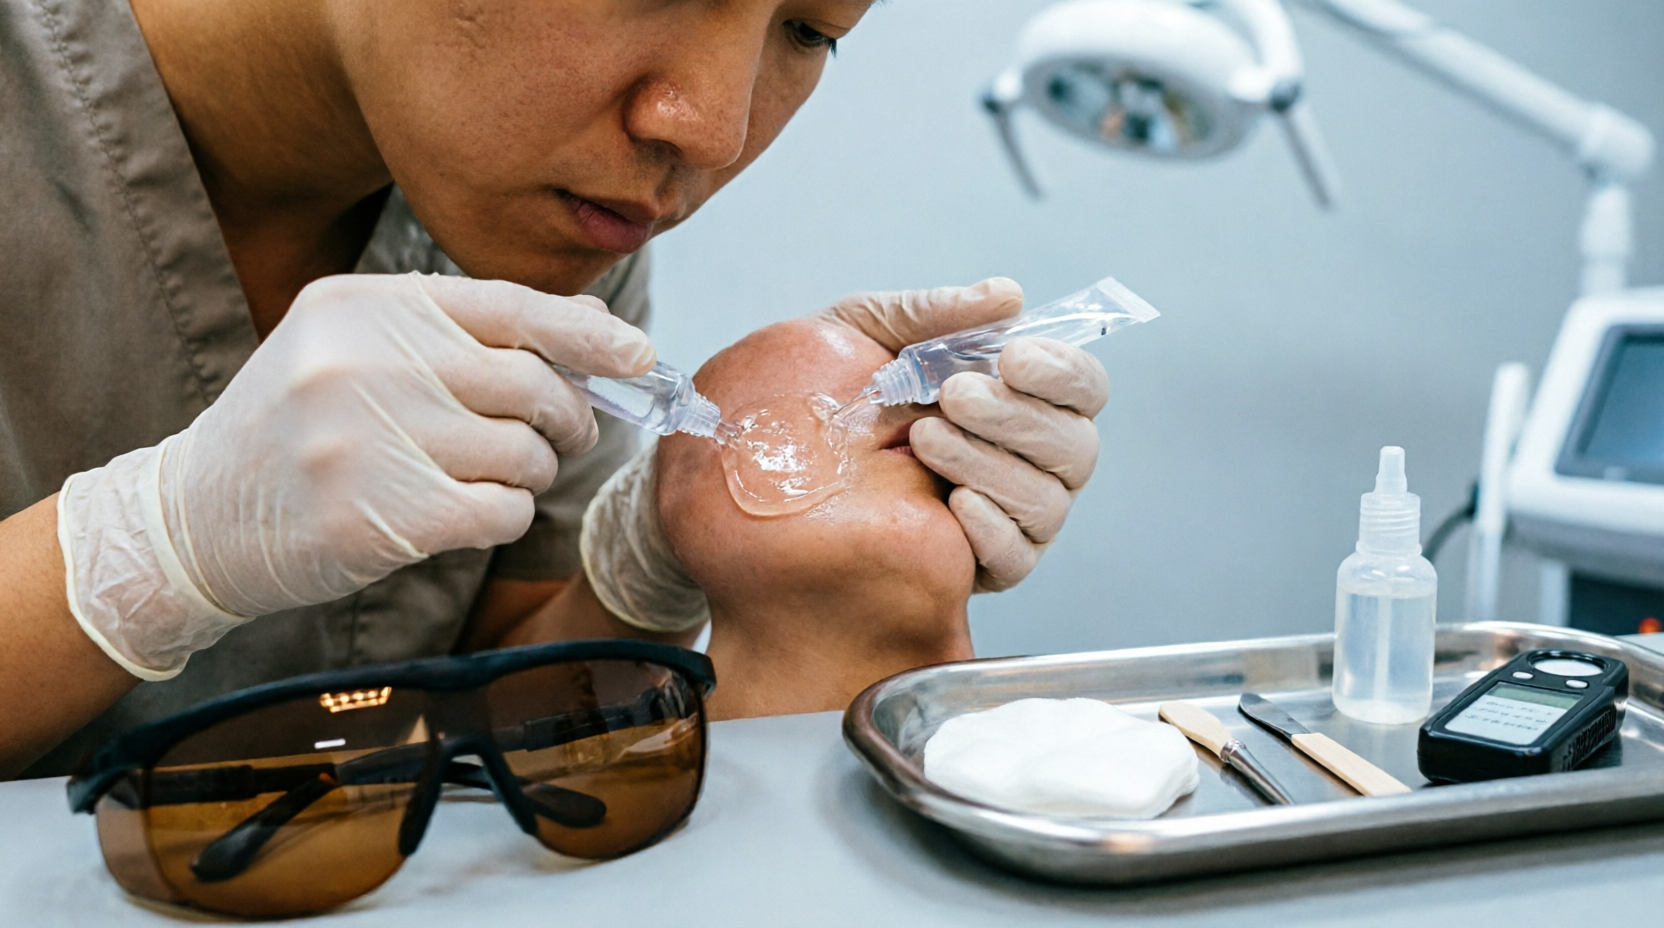
Botox and filler training courses
Introduction: Two Modalities, Two Different Skill Sets
If you are searching for Botox and filler training courses, you already know that neurotoxins and dermal fillers are the twin pillars of medical aesthetics. However, many newcomers assume that if you can inject one, you can inject the other. That assumption is dangerous.
While both involve needles, the anatomy, injection depth, complication management, and even the certification tracks are completely different. Here is your expert guide to mastering both—and why 3D anatomy visualization and hands-on practice are non-negotiable.
1. Anatomy Mapping: Surface vs. Danger Zones
Botox (Neurotoxin)
- Target: Muscle bellies (Frontalis, Corrugators, Orbicularis Oculi).
- Depth: Intramuscular (2–4mm).
- Key Danger Zones: Brow ptosis (levator palpebrae inhibition), eyelid drop.
- 3D Visual Priority: Muscle vector mapping and spread patterns.
Dermal Fillers (HA, CaHA, PLLA)
- Target: Subcutaneous, supra-periosteal, or deep dermis.
- Depth: Variable (2mm for fine lines; 6–10mm for cheek augmentation).
- Key Danger Zones: Angular artery (nasolabial fold), dorsal nasal artery, infraorbital foramen.
- 3D Visual Priority: Vascular pathway mapping (retrograde embolism risk).
💡 Commercial Insight: Top-tier Botox and filler training courses now integrate 3D anatomy platforms (e.g., Complete Anatomy or Anatomage) to let you “peel away” layers from skin to bone. If a course only uses 2D diagrams, walk away.
2. Injection Techniques: A Comparative Breakdown
| Technique | Botox | Dermal Fillers |
|---|---|---|
| Primary Grip | 30–32g needle; perpendicular or 10° angle | 25–30g needle or cannula; linear threading / bolus |
| Common Method | Multiple small blebs (2–4 units each) | Retrograde linear threading or cross-hatching |
| Post-Injection Massage | Avoid (prevents diffusion to unwanted muscles) | Yes (mold and smooth product) |
| Anesthesia | None required (ice optional) | Topical or nerve block (e.g., infraorbital for filler) |
Key takeaway: Botox relies on diffusion control; fillers rely on volumetric precision. A course that teaches both must provide separate hands-on modules for each.
3. Complication Management: Immediate vs. Delayed
Botox Emergencies
- Ptosis (eyelid drop): Prescribe apraclonidine drops (Iopidine).
- Dysphagia (neck injections): Supportive care; referral to ENT.
- Flu-like symptoms: Antihistamines, observation.
Filler Emergencies (Higher Stakes)
- Vascular occlusion (Blanching + pain): Immediate high-dose hyaluronidase (150–200 units). This is a “drill” in every hands-on workshop.
- Tyndall effect (blue discoloration): Hyaluronidase or extrusion.
- Delayed nodules: Intralesional 5-FU or steroid.
🚨 Red Flag for Training: Does the course include a vascular occlusion simulation? If not, you are not prepared. Real-world filler complication management requires live drills—not just a PDF.
4. Certification Tracks: What a Legitimate Course Looks Like
When evaluating Botox and filler training courses, compare these three tracks:
Track A: Botox Only (Beginner)
- Didactic: 4 hours (muscle anatomy, reconstitution, dosing).
- Hands-on: 2 live models (upper face: glabella, frontalis, crow’s feet).
- Certification: Limited to neuromodulators.
Track B: Filler Only (Intermediate)
- Prerequisite: Botox certification or prior injection experience.
- Didactic: 8 hours (vascular anatomy, product rheology, cannula vs. needle).
- Hands-on: 3 live models (nasolabial folds, lips, cheeks).
- Certification: HA fillers only.
Track C: Combined Botox & Filler (Comprehensive)
- Duration: 2–3 days.
- Didactic: 12+ hours (including complication management certification).
- Hands-on: Minimum 5 live patients (2 toxin, 3 filler).
- 3D Anatomy Lab: 2 hours mandatory.
- Certification: Eligible for insurance coverage (e.g., MedPro, CPH & Associates).
5. Why Hands-On Practice Is Not Optional
You can watch 100 hours of online videos. You will still not know:
- The feel of a needle piercing the frontalis muscle vs. slipping through subcutaneous fat.
- The resistance when injecting a cross-linked filler vs. a monophasic product.
- The panic of a patient saying “that hurts” during a lip injection—and how to aspirate immediately.
Legitimate courses require:
- 1:4 instructor-to-student ratio or better.
- Live patients (not mannequins or pig’s feet).
- Real-time ultrasound or Doppler for vascular mapping (advanced courses).
Final Comparison Table: Botox vs. Filler Training
| Criteria | Botox Training | Filler Training |
|---|---|---|
| Primary Anatomy | Mimetic muscles | Vascular networks + fat compartments |
| Injection Depth | Intramuscular (2–4mm) | Subdermal to supra-periosteal (2–10mm) |
| Complication Risk | Ptosis, asymmetry | Vascular occlusion, necrosis, blindness |
| Hands-On Requirement | 2–3 live patients | 3–5 live patients |
| Emergency Kit | Apraclonidine | Hyaluronidase (must be available during injection) |
| Average Course Cost | 1,500–2,500 | 2,500–4,500 (combined) |
Ready to Train the Right Way?
Do not settle for a weekend course that crams 20 students around one model. Your patients’ safety—and your reputation—depend on 3D anatomy mastery and low-ratio hands-on injection practice.
Find upcoming Botox and filler training courses near you that include:
- 3D anatomy visualizations (not just printed charts)
- Live patient injection labs with immediate instructor feedback
- Vascular occlusion emergency drills
- Post-certification mentorship
Author’s Note: Always verify that your training course provides a certificate of completion that your medical malpractice insurer accepts. Some carriers require separate filler endorsements. When in doubt, call your insurer before enrolling.